 Pin it
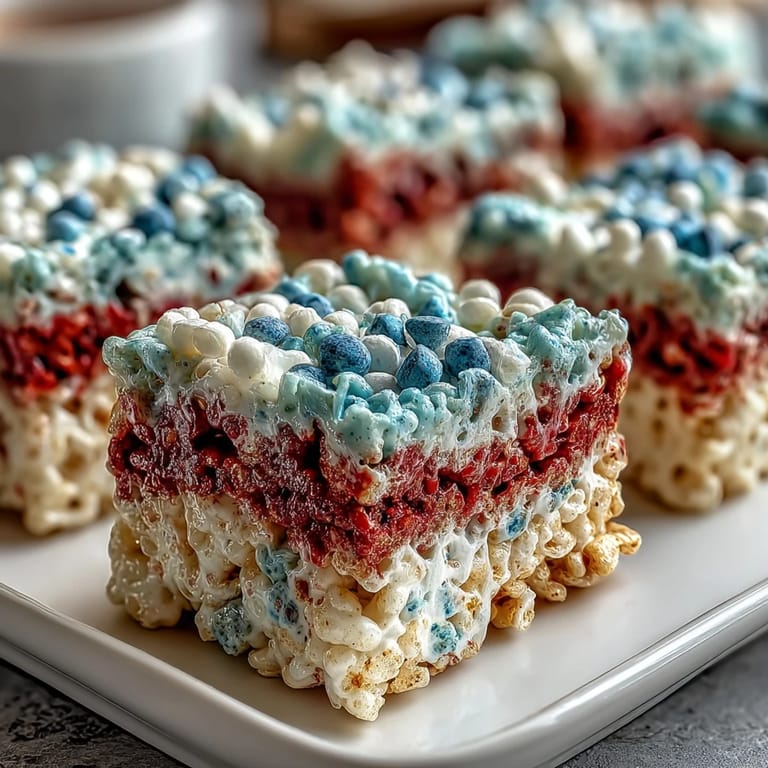
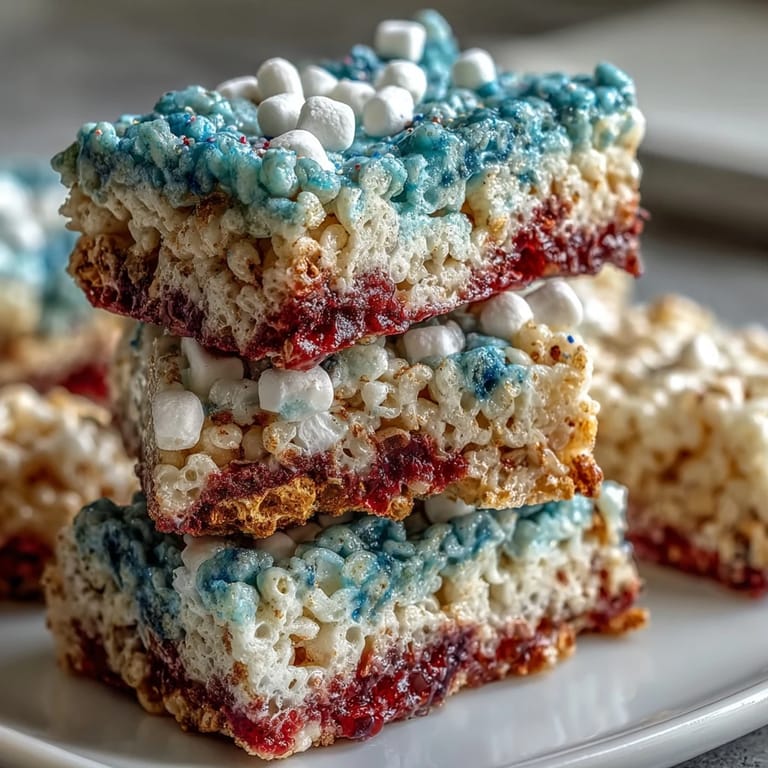
 My kids discovered these treats at a Fourth of July block party, and I watched them study the layers like they were looking at the flag itself. That afternoon in the kitchen, sticky hands everywhere and someone accidentally knocked over the blue food coloring bottle (thankfully capped), we turned it into a game—who could press the marshmallow layer down without giggling. What started as a simple dessert became our annual tradition, the one thing they actually help me make without complaining.
I remember my neighbor asking if I'd made them professionally when she saw the blue layer catching the sunlight through our kitchen window. She couldn't believe how neat the stripes were, and honestly, neither could I the first time around—it's a process that looks fancier than it actually is, which is the best kind of cooking surprise.
Ingredients
- Rice Krispies cereal: You need the real stuff for that authentic snap and crunch; store brands sometimes absorb moisture differently and the texture suffers.
- Mini marshmallows: They melt more evenly than large ones, which means less stirring and a smoother, more uniform layer every time.
- Unsalted butter: Dividing it into thirds keeps each layer separate and prevents flavor bleed-through between colors.
- Vanilla extract: This goes only in the white layer and adds a subtle warmth that balances the sweetness.
- Gel food coloring: Liquid coloring will make your mixture weepy and loose; gel stays concentrated and keeps everything textured properly.
- Red, white, and blue sprinkles: Optional but worth it if you want that extra festive pop right when someone bites in.
Tired of Takeout? 🥡
Get 10 meals you can make faster than delivery arrives. Seriously.
One email. No spam. Unsubscribe anytime.
Instructions
- Prep your pan like you mean it:
- Line your 9x9-inch pan with parchment paper and grease it lightly so the finished treats lift out cleanly later. This takes two minutes but saves you from frustrated digging.
- Divide everything into thirds:
- Measure out your marshmallows and butter so each layer gets equal treatment; consistency matters more here than in most desserts.
- Make the red layer:
- Melt butter over low heat, add marshmallows, and stir until they're completely smooth and glossy before adding the red coloring. Watch the color develop—a few drops goes a long way, and you want that deep patriotic red without overdoing it.
- Press and be gentle:
- Once you've mixed in the cereal, press this layer evenly into the pan using a slightly greased spatula or your palms. Don't smash it so hard you squeeze out the air bubbles that give it texture.
- Clean the pan between layers:
- A quick wipe with a paper towel keeps colors from muddying and the layers stay distinct. This is worth the extra thirty seconds.
- Build the white layer with vanilla:
- Repeat the melting and mixing process, but this time the vanilla extract goes in after the marshmallows melt, and there's no food coloring. The flavor adds something special that pure white layers sometimes miss.
- Top with blue:
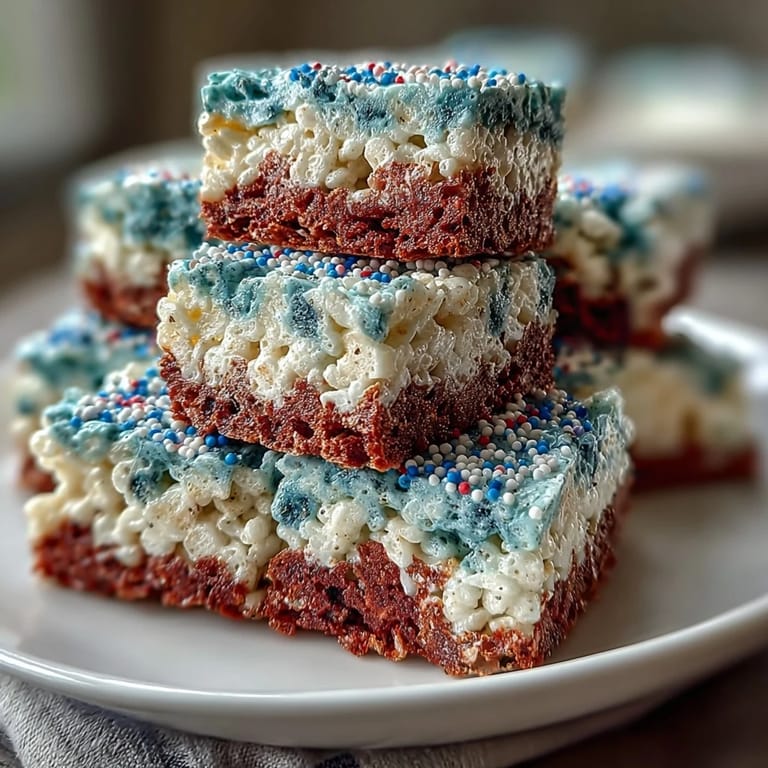
- The final layer gets its blue coloring and presses gently over the white, completing your flag. You'll see the colors stacked when you eventually cut into it, and it's worth the care you took.
- Sprinkle while warm:
- If you're using decorative sprinkles, scatter them on top while the blue layer still has a tiny bit of warmth so they stick slightly. They look better and don't slide off as easily.
- Cool completely before cutting:
- At least an hour in a cool spot means the layers stay distinct instead of smooshing together when you slice. Patience here makes the difference between pretty and perfect.
 Pin it
 One year, my youngest brought these to school for show-and-tell because she was proud we'd made them together, and her teacher asked for the recipe. That small moment of pride over something we'd built in our kitchen together reminded me that the best recipes aren't about perfection; they're about those sticky-fingered afternoons and the stories you end up telling.
The Secret to Even Layers
The trick nobody mentions is that each layer needs to cool just slightly before the next one goes down, but not so much that it hardens. I've learned to let each layer set for maybe thirty seconds while I'm wiping the pan and prepping the next batch of marshmallows. If you rush and stack them while everything's scalding hot, the colors start to blend at the edges.
Why Gel Food Coloring Changes Everything
The first time I tried making these with regular liquid food coloring, I wondered why the mixture suddenly felt grainy and loose, like I'd accidentally added milk instead of just coloring. The gel stuff is concentrated and water-free, so it doesn't mess with the marshmallow-to-cereal ratio that makes these treats actually hold together. It's one of those kitchen discoveries that seems obvious in hindsight but costs you one failed batch to figure out.
Storage and Serving Ideas
These keep beautifully in an airtight container for three days, though they rarely last that long in our house. I've found that cutting them with a sharp, slightly warm knife (just run it under hot water and wipe it dry) gives you clean edges instead of the cereal crumbling at the corners.
- Stack them in parchment between layers to prevent sticking if you're storing multiple days.
- These are perfect for picnics because they travel well and don't need refrigeration.
- Cut them into smaller bite-sized pieces if you're serving at a party where people will grab just one or two.
 Pin it
 These treats taste like summer and celebration, the kind of simple thing that becomes tradition because it works and because people remember making it with you. That's worth far more than perfect layers, though perfect layers are pretty nice too.
Recipe FAQ
- → What type of coloring works best for the layers?
Gel food coloring is recommended for vibrant colors without adding extra moisture that can alter texture.
- → Can I use salted butter instead of unsalted?
Yes, using salted butter adds a subtle savory note, enhancing the overall flavor balance.
- → How should I store the layered squares?
Store them in an airtight container at room temperature for up to 3 days to maintain freshness.
- → Is it necessary to cool the layers before cutting?
Allowing at least one hour to cool helps the layers set firmly, making cutting easier and cleaner.
- → Can I make these treats gluten-free?
Ensure to use certified gluten-free crispy cereal to accommodate gluten-free needs safely.