 Pin it
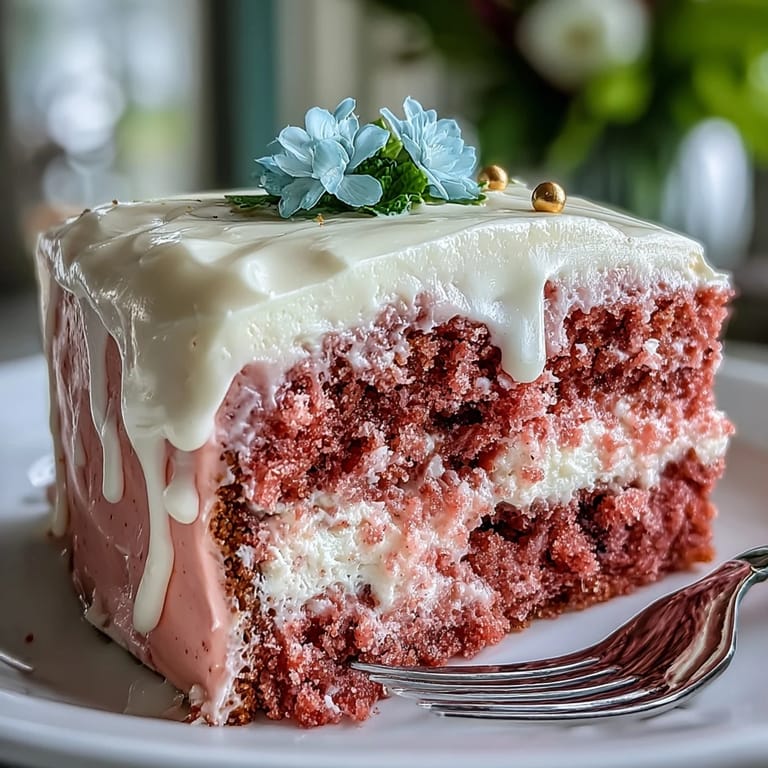
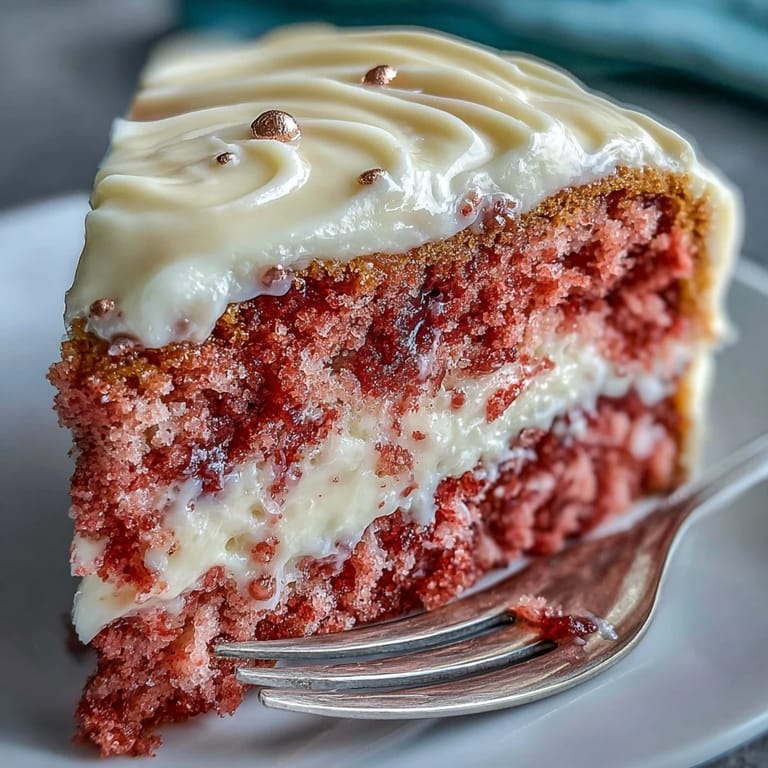
 Some cakes turn an ordinary gathering into a full-fledged celebration, and this Rosé Velvet Cake does exactly that. The faint aroma of wine swirled with vanilla hit me as I first tested this recipe on a sunny Saturday, windows open and birds bickering outside. It wasn't supposed to be such a showstopper—I just wanted something playful and pretty for a friend's bridal shower. The pink crumb, gold drip, and laughter that came later were just delightful bonuses. Honestly, cutting into it for the first time felt a little like opening a present you really hoped you'd love.
I still laugh about the way we huddled over the cake at Juliet's shower, giggling every time a gold drip didn't run quite perfectly down the edge. Everyone had some opinion about the decoration—and somehow, that made the cake taste even better. It was a rare afternoon where frosting on fingers and streaks of gold on our tea cups just felt right.
Ingredients
- All-purpose flour: Use a kitchen scale for accuracy and be sure to sift it—it keeps the crumb tender.
- Cornstarch: This may seem minor, but it's my trick for an ultra-soft, melting texture.
- Unsweetened cocoa powder: Just enough for depth—don't go overboard, or you'll overpower the rosé.
- Baking soda: For a gentle lift and the right velvet crumb.
- Salt: Even a sweet cake needs a bit for balance (trust me, I skipped it once—big mistake).
- Unsalted butter: Room temp makes all the difference; too cold, and you'll struggle to cream it smooth.
- Granulated sugar: This is your main sweetness—creaming with the butter gives all the lift.
- Light brown sugar: A secret weapon for a hint of caramel richness.
- Large eggs: Room temperature only; cold eggs will stiffen the batter and make it curdle.
- Rosé wine: Pick something you'd actually drink—a cheap bottle can make the cake taste flat.
- Buttermilk: It ensures softness and helps the batter rise just right.
- Vanilla extract: I always splash a little extra for aroma.
- Pink gel food coloring: Optional, but a few drops unlock that wow-factor hue.
- Cream cheese: Full fat for richness; let it soften on your counter before mixing.
- Confectioners’ sugar: Sifted is non-negotiable—otherwise, lumps forever.
- White chocolate chips: They melt smoothly for the drips (just go slow and low on the heat).
- Heavy cream: This loosens the ganache so it flows luxuriously down the sides.
- Edible gold luster dust: Don't be shy—it's pure glam every time you swipe it on.
- Clear vodka or lemon extract: It evaporates quickly, leaving only gleaming gold behind.
Tired of Takeout? 🥡
Get 10 meals you can make faster than delivery arrives. Seriously.
One email. No spam. Unsubscribe anytime.
Instructions
- Prep the pans:
- Preheat your oven to 350°F and line three 8-inch pans—don't forget that parchment rounds, they'll save your cake from sticking.
- Mix the dry ingredients:
- Whisk together flour, cornstarch, cocoa, baking soda, and salt in a bowl so there are no pockets of powder lurking at the bottom.
- Cream butter and sugars:
- Beat the butter with both sugars until super fluffy, about 3 minutes—you should be able to feel the graininess disappear when you rub a bit between your fingers.
- Add eggs and flavor:
- Add eggs one by one, mixing well after each, then sweep in vanilla, letting the kitchen fill with that sweet warmth.
- Combine wet ingredients:
- Whisk the rosé and buttermilk together in a jug—you might catch a hint of fruitiness in the air.
- Bring together the batter:
- With your mixer on low, alternate adding the flour mixture and the rosé-buttermilk, beginning and ending with flour; add a few drops of pink food gel if you love a bright color.
- Divide and bake:
- Evenly distribute the batter among the pans and smooth out the tops; bake for 28–32 minutes until a toothpick comes out clean and the kitchen smells heavenly.
- Cool the cakes:
- Let the cakes rest in pans 10 minutes, then turn them onto a wire rack to cool completely—patience is key for clean stacking.
- Make the frosting:
- Beat soft cream cheese and butter until velvety, then slowly mix in confectioners' sugar, vanilla, and a pinch of salt until fluffy and ready to spread.
- Assemble and frost:
- Stack your cakes with generous layers of frosting, swirling a thick coat around the sides, then chill for at least 30 minutes for a sturdy base.
- Prepare the gold drip:
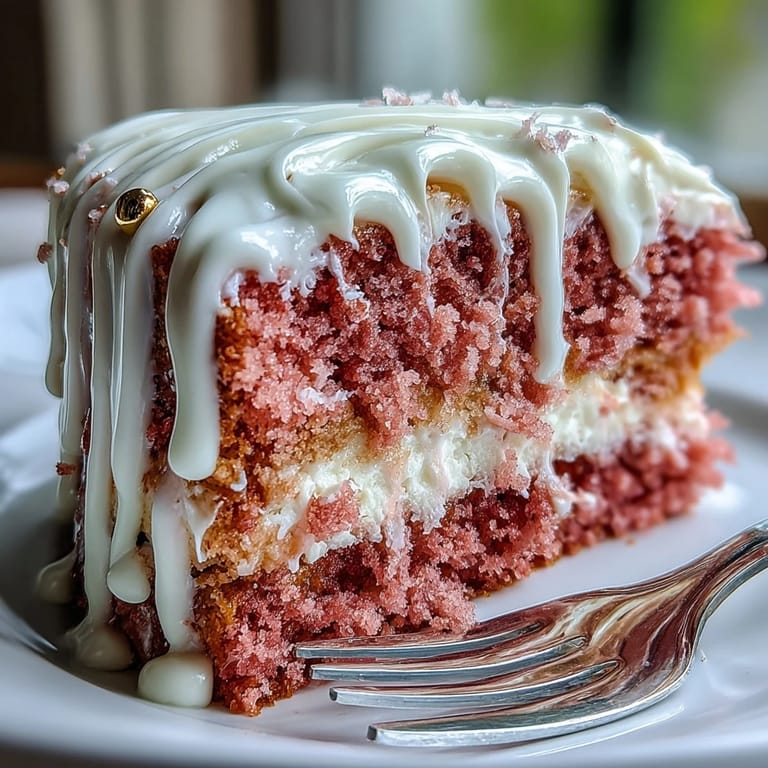
- Melt white chocolate chips with cream until smooth, let it cool, then gently drizzle over the cake edges so it cascades in golden waves—return to the fridge to set.
- Paint on the glamour:
- Mix gold luster dust with a drop or two of vodka or lemon extract, then brush carefully over the set white chocolate for a stunning finish.
- Add optional flourish:
- If you'd like, finish with edible flowers or a few spare flecks of gold leaf for that extra bit of magic.
 Pin it
 We gathered for a photo just before slicing, gold brushes in hand and a real sense of accomplishment gleaming along with the cake. That moment—sticky fingers, frosting smudges and all—turns every bite into a celebration, no matter how small the occasion.
How to Make the Gold Drip Effortless
If the drip seems intimidating, rest easy: a spoon and a gentle hand will do. I learned that chilling the frosted cake before starting keeps the drips from running too wild, so don't skip that stage. Also, test your first drip on the back of the cake—just for practice—before working around the visible edge. When it’s time to paint, use a soft brush and little strokes so the chocolate doesn't smudge.
Choosing a Rosé That Shines
I always lean towards a vibrant, fruity rosé for this cake—dry varieties can taste flat once baked. Smell your wine before adding; if it smells floral, it'll infuse the cake with beautiful perfume. You can swap in pink grape juice for a non-alcoholic party and still keep the color and hint of tang. Just remember to keep the liquid measurements the same for best results.
Assembly Day: No-Rush Tips For Success
Assembling layer cakes used to feel like a marathon, but setting out all your tools (and a big offset spatula) before you start makes it feel easy. Pop the layers in the fridge for 15 minutes if things get messy, then keep going. If you want fancy piping, do it just before serving for the freshest look.
- Wear an apron—pink cake batter likes to jump.
- Clean your spatula between frosting layers for crisp lines.
- Don't let perfection slow you down—fun makes it taste even better.
 Pin it
 However you decorate it, this Rosé Velvet Cake is guaranteed to bring smiles and sparkle to the table. Let each slice be a toast to laughter, friendship, and a little touch of magic in your kitchen.
Recipe FAQ
- → What can replace rosé for a non-alcoholic version?
Use pink grape juice or sparkling cider as a direct swap. If the substitute is very sweet, reduce granulated sugar slightly and add a teaspoon of lemon juice for brightness.
- → How do I get a natural pink hue without heavy coloring?
Rely on the rosé infusion and a small amount of beet powder or reduced berry purée for a subtle blush. A tiny dab of gel coloring can boost tone without affecting texture.
- → How do I control the thickness of the gold drip?
Chill the frosted cake first so the ganache sets on contact. Cool ganache to a thick ribbon stage; if it runs too thin, add more melted white chocolate to thicken before dripping.
- → What’s the best way to store the finished cake?
Keep the cake refrigerated, covered gently, for up to 3 days. Remove from fridge 30–60 minutes before serving to let the frosting soften and flavors open.
- → Can I swap the cream cheese frosting for something else?
Yes—Swiss meringue buttercream or a stabilized mascarpone frosting are good alternatives. Aim for a slightly tangy finish to complement the rosé notes.
- → Any tips for neat layer assembly and clean edges?
Level each layer and use a small dollop of frosting as glue between tiers. Press gently, chill the stacked cake for 20–30 minutes, then apply a thin crumb coat before the final finish.