 Pin it
 The kitchen smelled like melted butter and something bittersweet when I first folded dark chocolate into cake batter on a rainy Tuesday afternoon. I wasn't aiming for perfection, just something warm to share with neighbors who'd helped us move in the week before. What emerged from the oven was darker, denser, and more luxurious than I'd imagined. That squidgy center and shiny icing became my go-to whenever I needed to say thank you without actually saying much at all.
I made this for my sister's birthday once, and she ate two slices before anyone else arrived. She said it reminded her of the chocolate cakes we used to buy from the bakery near our school, except richer and less sweet. Now every time she visits, she asks if there's any chance this cake might appear. It's become our unspoken tradition, a quiet way of marking time and homecomings.
Ingredients
- 200 g unsalted butter (plus extra for greasing): Use good quality butter for a cleaner, creamier flavor that doesn't compete with the chocolate.
- 200 g dark chocolate (minimum 50% cocoa solids), chopped: This is the soul of the cake, so choose a chocolate you'd happily eat on its own.
- 250 g light brown sugar: The molasses adds a subtle caramel note that makes the cake taste deeper and less one-dimensional.
- 3 large eggs: They give structure and lift without making the crumb too airy or sponge-like.
- 200 g plain flour: Just enough to hold everything together without turning it into a traditional sponge.
- 1 ½ tsp baking powder: A gentle rise that keeps the texture dense but not heavy.
- ¼ tsp fine sea salt: Balances the sweetness and sharpens the chocolate flavor in a way you'll notice but can't quite name.
- 50 g cocoa powder: Adds an extra layer of cocoa intensity and that signature dark color.
- 150 ml whole milk: Brings moisture and a silky consistency to the batter.
- 1 tsp vanilla extract: Rounds out the chocolate without stealing the spotlight.
- 150 g dark chocolate (for icing), chopped: Melts into a glossy, pourable icing that sets with a slight sheen.
- 100 g unsalted butter (for icing): Makes the icing spreadable and rich without being greasy.
- 200 g icing sugar, sifted: Sweetens and thickens the icing to just the right consistency.
- 3 tbsp whole milk (for icing): Loosens the icing so it spreads smoothly and doesn't drag on the cake surface.
Tired of Takeout? 🥡
Get 10 meals you can make faster than delivery arrives. Seriously.
One email. No spam. Unsubscribe anytime.
Instructions
- Preheat and Prepare Your Tins:
- Set your oven to 180°C (160°C fan) or 350°F, then grease and line two 20 cm round cake tins with baking paper. This step matters more than you think because a well-lined tin means the cake releases cleanly and you don't lose that perfect edge.
- Melt the Chocolate and Butter:
- Place the chopped chocolate and butter in a heatproof bowl over a pan of barely simmering water, stirring now and then until everything melts into a glossy pool. Let it cool slightly so it doesn't scramble the eggs later.
- Whisk the Sugar and Eggs:
- In a large bowl, whisk the sugar and eggs together until the mixture turns pale, thick, and leaves a ribbon trail when you lift the whisk. This takes a few minutes but it's what gives the cake its tender crumb.
- Combine the Chocolate Mixture:
- Stir the melted chocolate into the egg mixture, followed by the vanilla extract. The batter will look glossy and smell like a chocolatier's kitchen.
- Sift and Fold the Dry Ingredients:
- Sift together the flour, baking powder, salt, and cocoa powder in a separate bowl, then fold them gently into the wet mixture, alternating with the milk. Stop as soon as everything is just combined, overworking the batter will make the cake tough.
- Divide and Bake:
- Split the batter evenly between the two prepared tins, smoothing the tops with a spatula. Bake for 30 to 35 minutes, checking with a skewer which should come out with a few moist crumbs clinging to it, not wet batter.
- Cool the Cakes:
- Let the cakes rest in their tins for 10 minutes before turning them out onto a wire rack to cool completely. Rushing this step risks cracking or sticking.
- Make the Chocolate Icing:
- Melt the chocolate and butter together over simmering water, then remove from heat and gradually beat in the sifted icing sugar and milk. Keep stirring until the icing is smooth, glossy, and thick enough to coat the back of a spoon.
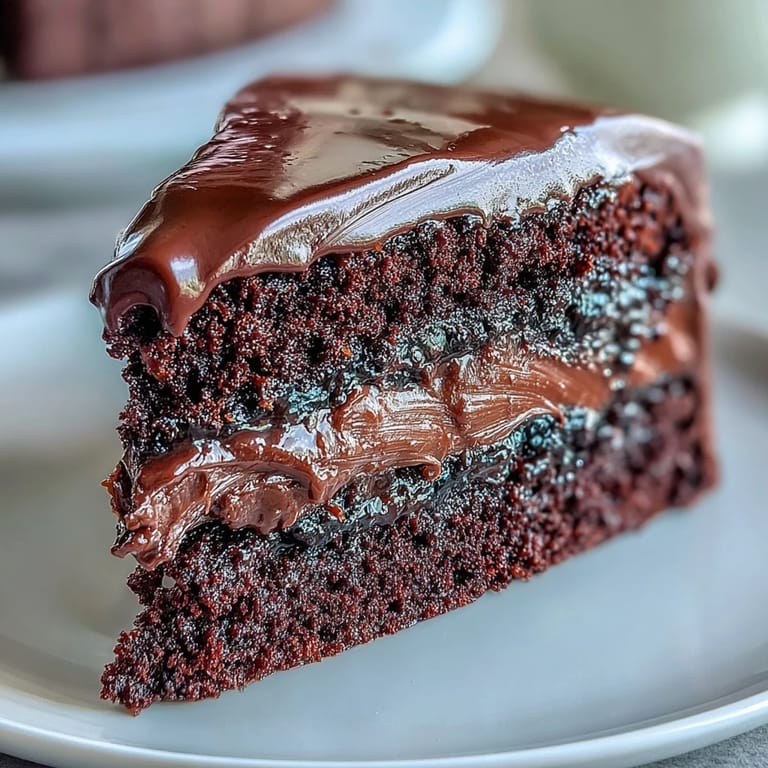
- Assemble and Ice:
- Place one cake layer on your serving plate, spread a generous third of the icing over the top, then place the second layer on top. Cover the top and sides with the remaining icing, smoothing it with a palette knife in long, confident strokes.
 Pin it
 There was an afternoon when a friend brought her daughter over, and the little one sat on a stool watching me spread the icing with wide, serious eyes. She asked if she could lick the spoon, and I handed it over without hesitation. Later, her mum told me that was the first time her daughter had ever asked to help in the kitchen. Sometimes a cake is just a cake, but sometimes it opens a door you didn't know was waiting.
Storing and Serving
This cake sits happily in an airtight container for up to three days, though in my house it rarely lasts past the second. The icing firms up slightly as it sits, which makes it easier to slice cleanly. I like serving it at room temperature with a dollop of whipped cream or a handful of fresh raspberries to cut through the richness. If you're feeling indulgent, a thin layer of raspberry jam between the cake layers adds a fruity sharpness that makes every bite feel a little more special.
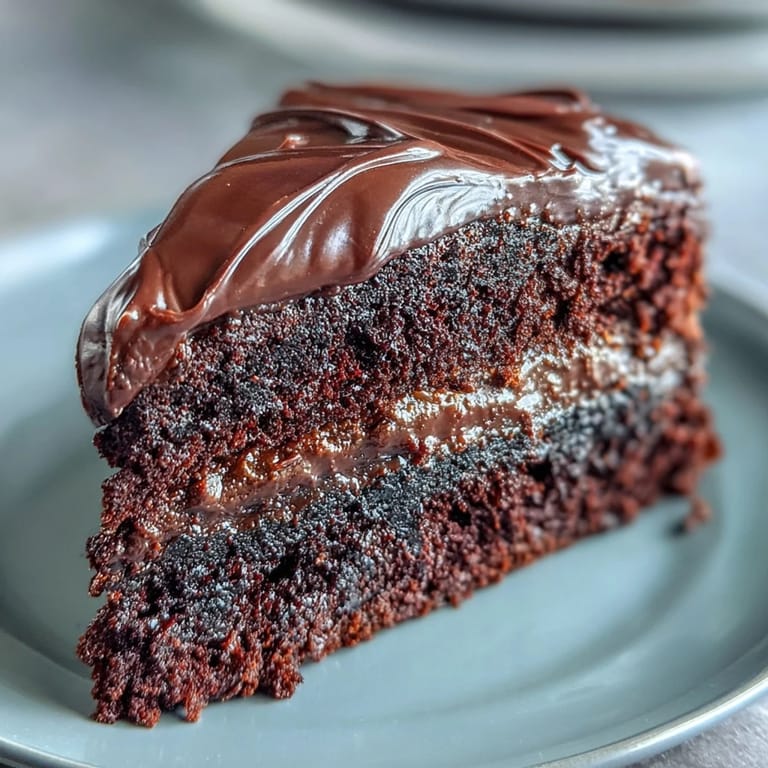
What Makes It So Squidgy
The secret is in the ratio of melted chocolate to flour and the fact that you're folding, not beating, the batter. All that chocolate stays soft and fudgy even after baking, while the small amount of flour provides just enough structure to hold a slice together. The light brown sugar also keeps the crumb moist and tender, preventing that dry, cakey texture you sometimes get with chocolate sponges. It's less like a traditional layer cake and more like a grown-up brownie dressed up for company.
Making It Your Own
I've added orange zest to the batter before, and it gave the whole thing a subtle brightness that worked beautifully. A friend once folded in chopped toasted hazelnuts, and the crunch was a welcome surprise against all that softness. You could also spike the icing with a tablespoon of espresso or a splash of rum if you're feeling adventurous.
- Try adding a teaspoon of instant espresso powder to the batter for a deeper, more complex chocolate flavor.
- Swap the vanilla extract for almond extract if you want a hint of marzipan sweetness.
- Dust the finished cake with a little cocoa powder or scatter over some chocolate shavings for a bakery-style finish.
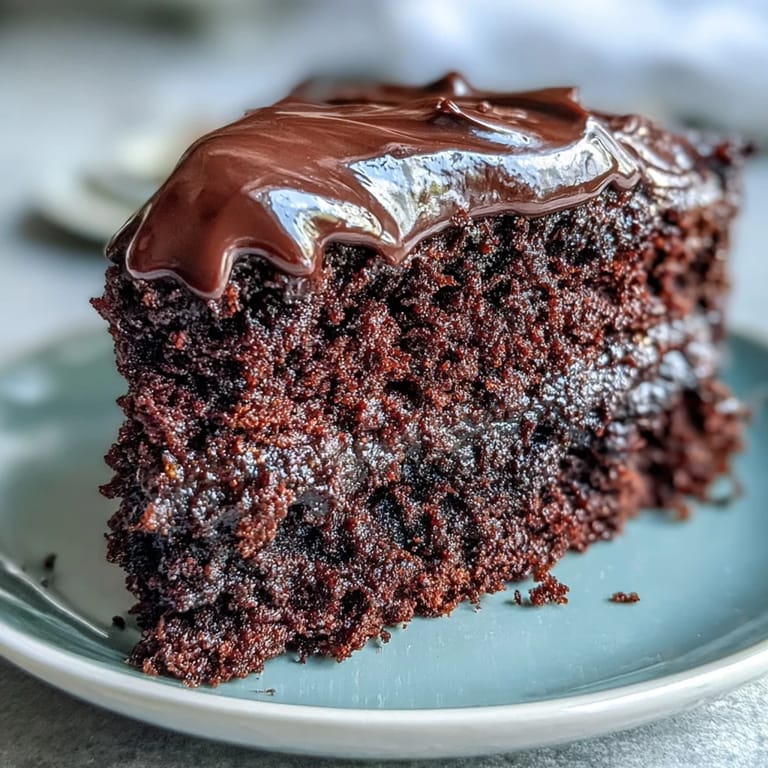 Pin it
 This is the kind of cake that makes people lean back in their chairs and go quiet for a moment, lost in the taste. Keep it in your repertoire, and you'll always have something generous and comforting to offer when words aren't quite enough.
Recipe FAQ
- → Can I use milk chocolate instead of dark chocolate?
Yes, but dark chocolate with minimum 50% cocoa solids gives the best rich, fudgy flavor. Milk chocolate will make it sweeter and less intense.
- → How do I know when the cake is properly baked?
Insert a skewer into the center—it should come out with a few moist crumbs, not wet batter. The cake should also spring back lightly when touched.
- → Can I make this cake in advance?
Absolutely. The cake keeps well in an airtight container for up to 3 days. You can bake the layers ahead and ice them on the day of serving.
- → What can I add between the cake layers?
Raspberry jam works beautifully for extra indulgence. You can also use buttercream, chocolate ganache, or even a layer of whipped cream.
- → Can I make this cake gluten-free?
Yes, substitute the plain flour with a gluten-free flour blend designed for baking. Ensure all other ingredients are certified gluten-free.
- → Why is my icing too runny?
Allow the melted chocolate mixture to cool slightly before adding icing sugar. If it's still runny, add more sifted icing sugar gradually until you reach the desired consistency.