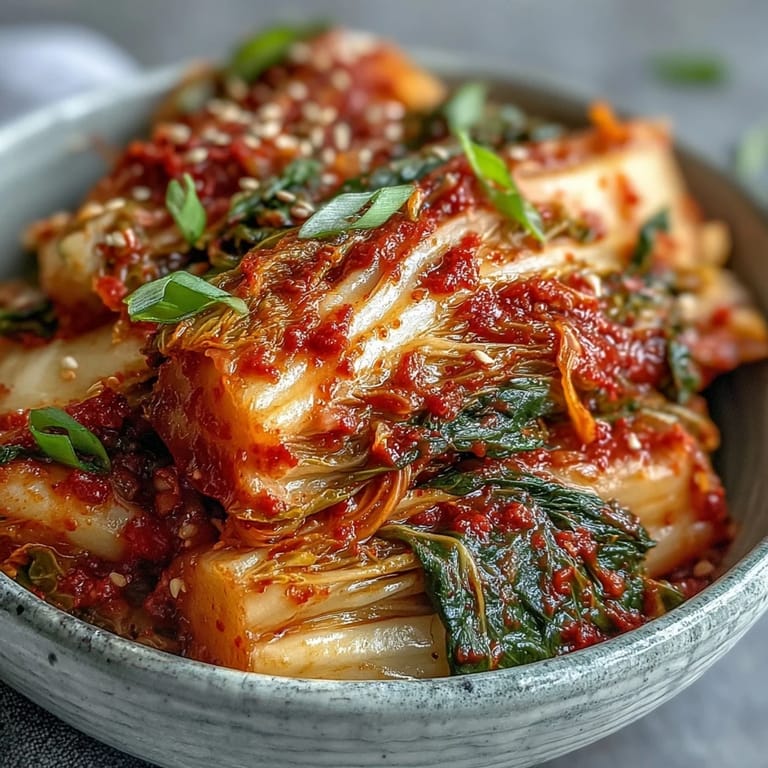
 Pin it
 My first batch of kimchi happened by accident, really. I had a friend visiting from Seoul who opened my refrigerator, wrinkled her nose at my sad collection of condiments, and declared she was making kimchi whether I had proper ingredients or not. Three hours later, my kitchen smelled like garlic and ginger in the best possible way, and I understood why this fermented cabbage had earned its place as Korea's soul food. That spontaneous afternoon taught me that kimchi isn't fussy—it's forgiving, alive, and genuinely improves over time, much like good friendships.
I made this exact recipe during a gloomy February when I needed something to do with my hands and my racing thoughts. The repetitive massaging of that spice paste into cabbage became meditative, and somewhere between the second and third jar, I realized I was humming. By the time fermentation day arrived, my kitchen had transformed into a cozy laboratory of pickled vegetables, and suddenly the gray weather outside didn't matter so much.
Ingredients
- Napa cabbage: You want one large head with tightly packed leaves—the weight matters here since it affects how much brine you need and how evenly it ferments.
- Daikon radish: This adds the signature crunch and a peppery sweetness that cuts through the heat; don't skip it even if it seems optional.
- Scallions and carrot: These are your texture layers and color—they soften slightly during fermentation but add visual appeal and subtle flavor complexity.
- Coarse sea salt: Use actual coarse sea salt, not table salt; the grain size affects how quickly the cabbage releases its water and how evenly it brines.
- Korean red chili flakes (gochugaru): This is the non-negotiable flavor backbone—don't substitute with cayenne or regular chili powder, as gochugaru has a fruity earthiness those lack.
- Fish sauce or soy sauce: Fish sauce deepens the umami layers, but soy sauce works beautifully if you're vegan; each brings its own fermented richness.
- Rice flour paste: This acts as a binder and thickener, helping the spice mixture cling to the vegetables rather than pooling at the bottom of the jar.
Tired of Takeout? 🥡
Get 10 meals you can make faster than delivery arrives. Seriously.
One email. No spam. Unsubscribe anytime.
Instructions
- Prep your cabbage:
- Slice your napa cabbage lengthwise into quarters, then chop into 2-inch pieces—you're aiming for sizes that fit comfortably on a spoon and look appetizing when served. The uniform pieces ensure even fermentation and make plating less of a puzzle.
- Create the brine:
- Dissolve 80 grams of coarse sea salt into 1.5 liters of cold water in a large non-reactive bowl, then submerge your cabbage pieces. Weight them down with a plate and something heavy, then let them sit for 2 hours, tossing every 30 minutes—this process draws out the cabbage's water and creates the foundation for fermentation.
- Rinse thoroughly:
- After 2 hours, rinse your brined cabbage under cold water 2 to 3 times, squeezing gently to remove excess salt. The goal is to remove the brine while keeping the cabbage slightly seasoned—oversalted kimchi becomes unpalatable, undersalted loses its character.
- Make the spice paste base:
- Whisk rice flour with 150 milliliters of water in a small saucepan over medium heat, stirring constantly until it thickens slightly (about 1 to 2 minutes). This cooked paste prevents the raw rice flour from creating gritty pockets in your finished kimchi and helps everything bind together.
- Blend your flavor foundation:
- Combine the cooled rice paste, minced garlic, minced ginger, roughly chopped onion, fish sauce or soy sauce, and sugar in a blender, processing until completely smooth. This paste is your canvas—taste it and adjust the salt or sweetness before moving forward.
- Add heat to your paste:
- Stir in your Korean red chili flakes to taste, starting with 3 tablespoons and working up—you can always add more heat, but you can't remove it. The paste should smell intensely aromatic and make your eyes water slightly when you lean in close.
- Massage in the spice:
- Put on kitchen gloves, combine your drained cabbage with daikon radish, carrot, and scallions in a large bowl, then add the spice paste. Using your hands, massage thoroughly until every piece of cabbage glistens with the red paste and the vegetables release their own juices—this takes about 5 to 10 minutes and feels almost meditative.
- Pack your jars:
- Transfer your spiced vegetables into clean glass jars or a fermentation crock, pressing down firmly with your hands or a spoon to eliminate air pockets. The vegetables should be submerged in their own liquid; leave at least 1 inch of headspace at the top for fermentation gases.
- Begin fermentation:
- Seal your jars loosely (or leave the crock partially covered) and set them at room temperature away from direct sunlight. Burp the jars daily—open the lid briefly to release accumulated gas—for the first 2 days to prevent pressure buildup.
- Taste and store:
- After 48 hours, open a jar and taste—it should be tangy and sour with that signature umami depth. Once it reaches your preferred level of fermentation, transfer the jars to the refrigerator, where fermentation slows dramatically but continues developing complexity for weeks.
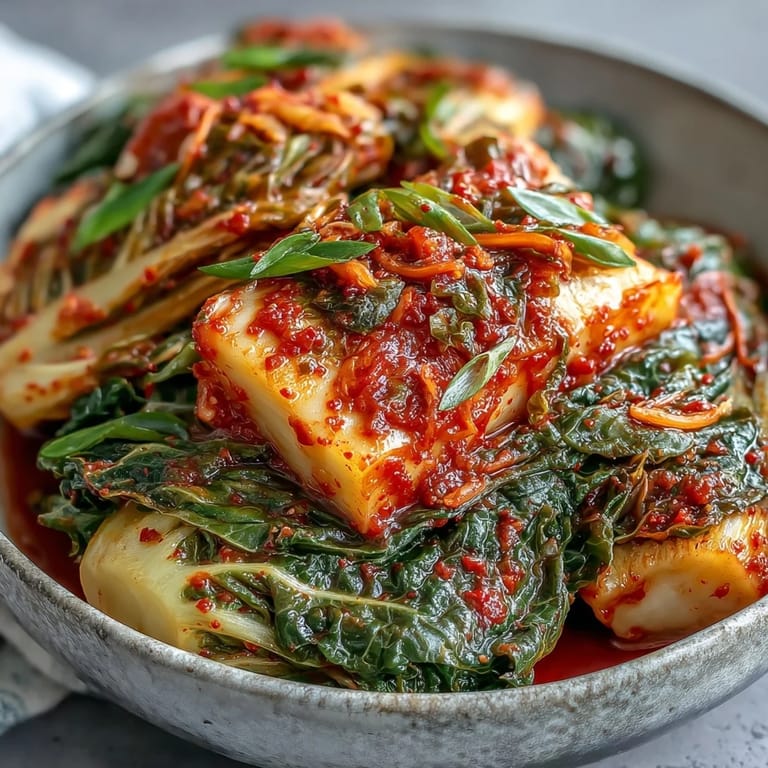 Pin it
 Last summer, I brought a jar of my homemade kimchi to a neighborhood potluck, and it disappeared before the main course was even served. A neighbor I'd never really talked to came back asking for the recipe, and we ended up spending an hour discussing fermentation and Korean food while sitting on the curb. That jar became a conversation starter, a small bridge between two people who realized they both loved bold flavors and living things that change over time.
The Science Behind the Fermentation
Fermentation is essentially controlled rot—beneficial bacteria like Lactobacillus thrive in the salty, anaerobic environment you've created, eating the natural sugars in your vegetables and producing lactic acid as a byproduct. This acid is what makes kimchi sour and tangy over time, while also preserving it and creating those probiotics everyone talks about. The first 48 hours are the most active period, which is why you burp the jars daily; after that, fermentation continues much more slowly in the refrigerator, developing deeper, more complex flavors as weeks pass.
Flavor Customization and Personal Taste
Kimchi is deeply personal—my aunt makes hers milder by adding grated pear, while my friend adds a touch of anchovy paste for extra umami depth. Some people prefer their kimchi predominantly sour (which means longer fermentation), while others like it fresher with just a slight tang (48 to 72 hours is perfect for this). Don't be afraid to experiment with ratios or to taste as you go; the beauty of making your own batch is that you can dial in exactly what makes your palate happy.
Serving and Pairing Ideas
Kimchi is a condiment that loves company—spoon it into rice bowls, stir it into soups in the last minute before serving, layer it into sandwiches, or simply eat it straight from the jar as a palate-cleansing snack. It pairs beautifully with fatty foods like eggs, pork, and cheese, cutting through richness with its acid and heat. Consider pairing it with crisp lagers that echo the fermented funk, or dry Rieslings whose slight sweetness balances the spice.
- Serves as a garnish for grain bowls, adding texture and funky depth.
- Transforms a simple egg fried rice into something memorable with just a handful mixed through.
- Elevates cheese boards and charcuterie by providing a spicy, fermented counterpoint to rich cured meats.
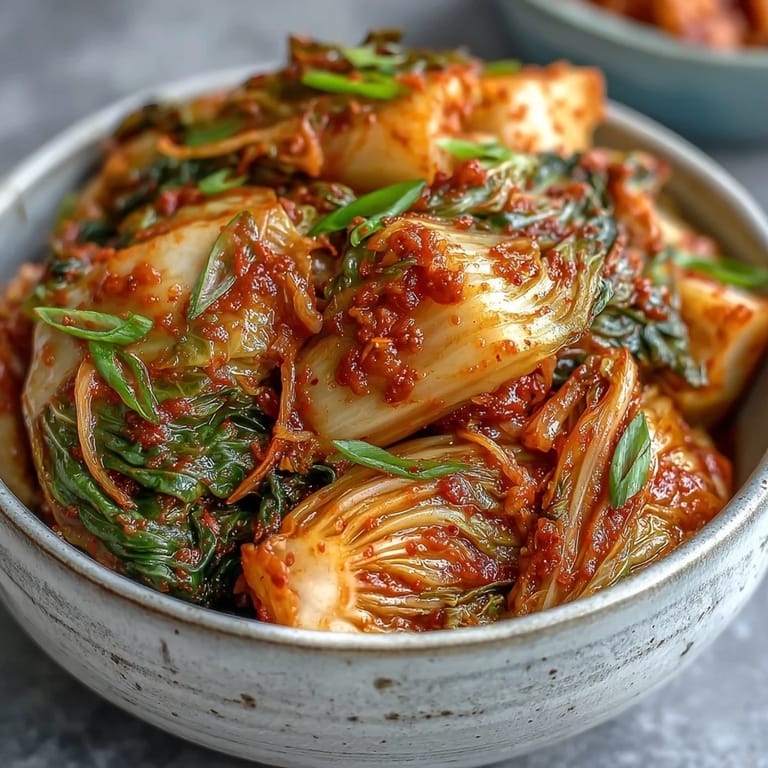 Pin it
 Making kimchi transformed how I think about food preservation and time—it's one of the few things I make that gets better when I'm not watching it. There's something quietly powerful about fermenting your own living condiment, knowing it's working hard in your refrigerator to develop flavors while simultaneously becoming healthier to eat.
Recipe FAQ
- → How long does kimchi fermentation take?
Initial fermentation at room temperature requires 1-2 days, but kimchi continues developing flavor in the refrigerator for several weeks. Taste periodically to find your preferred level of sourness and tang.
- → Can I make kimchi without fish sauce?
Yes, substitute fish sauce with soy sauce or vegan fish sauce for a plant-based version. The umami depth will vary slightly, but the fermentation process remains identical.
- → What gives kimchi its red color?
Korean red chili flakes called gochugaru provide the signature red hue and heat. Adjust the quantity from 3-5 tablespoons to control spiciness levels according to your preference.
- → Why do I need to burp the jars?
Carbon dioxide builds during fermentation. Daily burping releases pressure, preventing jar breakage and ensuring safe conditions while beneficial bacteria work their magic.
- → How do I know when kimchi is ready?
After 48 hours, taste your kimchi. It should taste tangy, slightly sour, and effervescent. Once it reaches your desired flavor profile, transfer to cold storage to slow further fermentation.
- → Can I use regular salt instead of sea salt?
Coarse sea salt is preferred for its mineral content and clean taste. Avoid iodized table salt, which may inhibit fermentation and impart bitter notes to your finished kimchi.